Follow our step by step guide to install your plugin in just a few clicks!
Newbook Booking Engine WordPress Plugin
Install the Newbook booking engine WordPress plugin
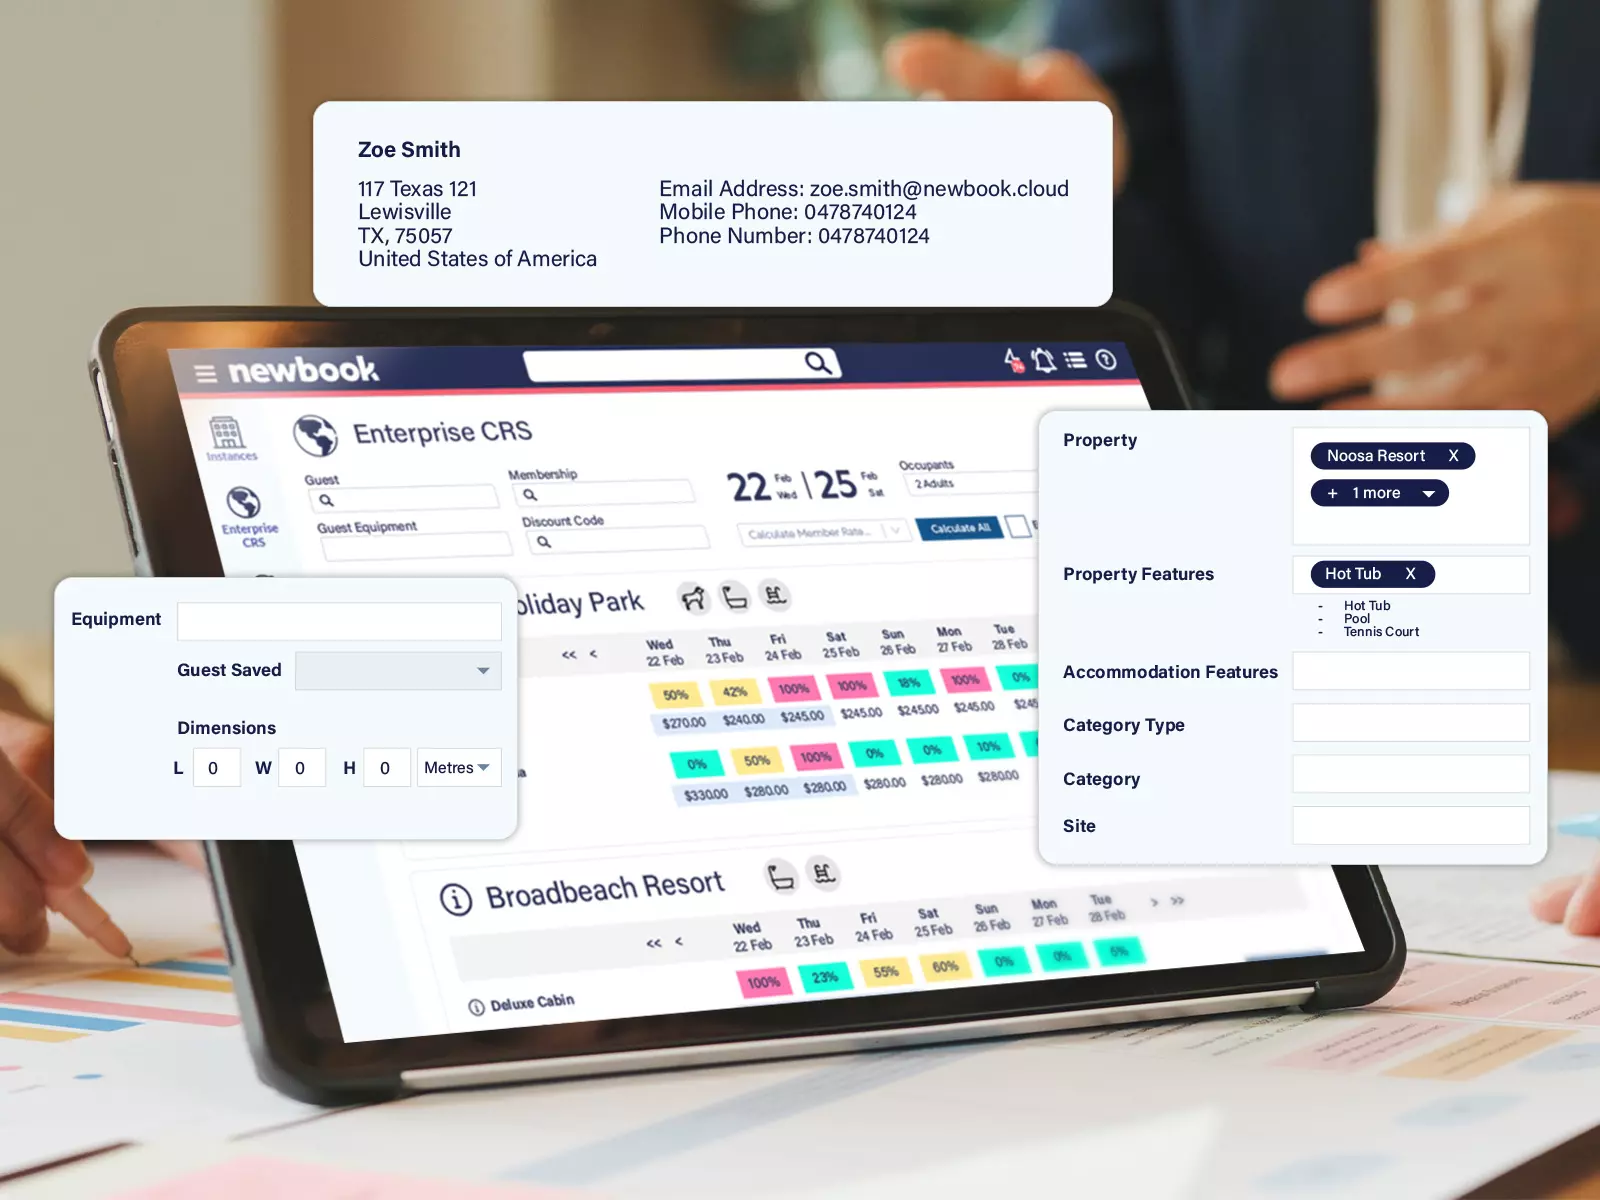
The Newbook booking engine plugin allows you to seamlessly install your Newbook booking system onto your WordPress website without requiring assistance from any external resources which will save you time and money! All you need to do to get started is simply click the download plugin button or search for Newbook in the plugin store!


How do you install the plugin?
Follow the below steps to install the Newbook WordPress plugin on your website.

Step 1
Click the “Download the WordPress Plugin” button to download the plugin folder. This will download a zip folder containing all the required plugin files.
Step 2
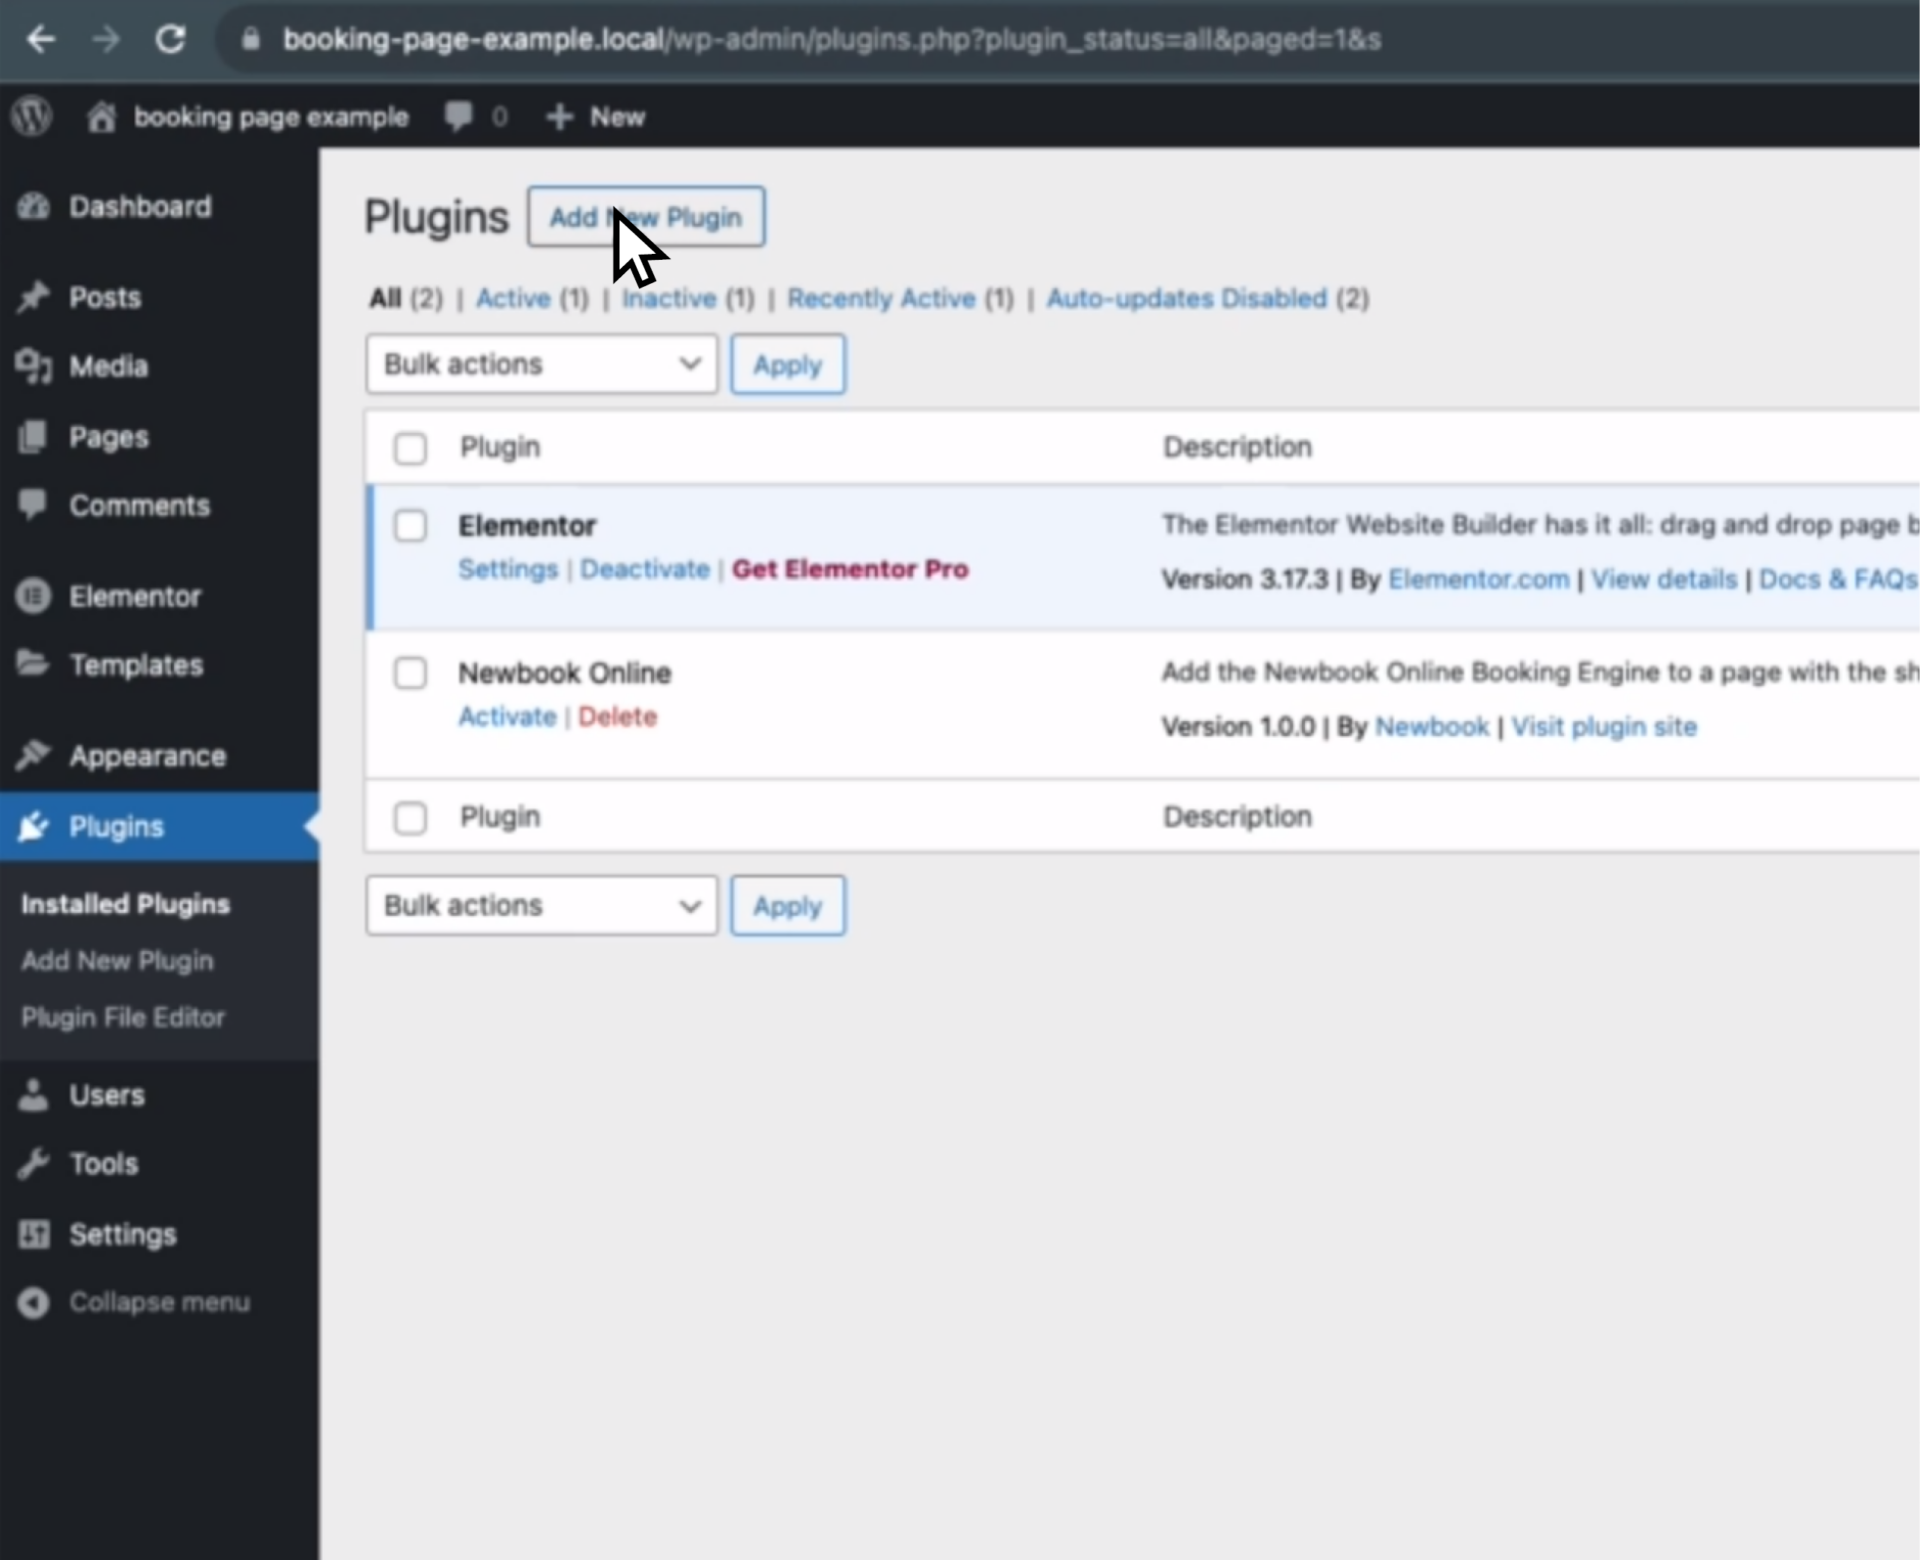
Go to the plugins section on WordPress and click the “Add New Plugin” tab.
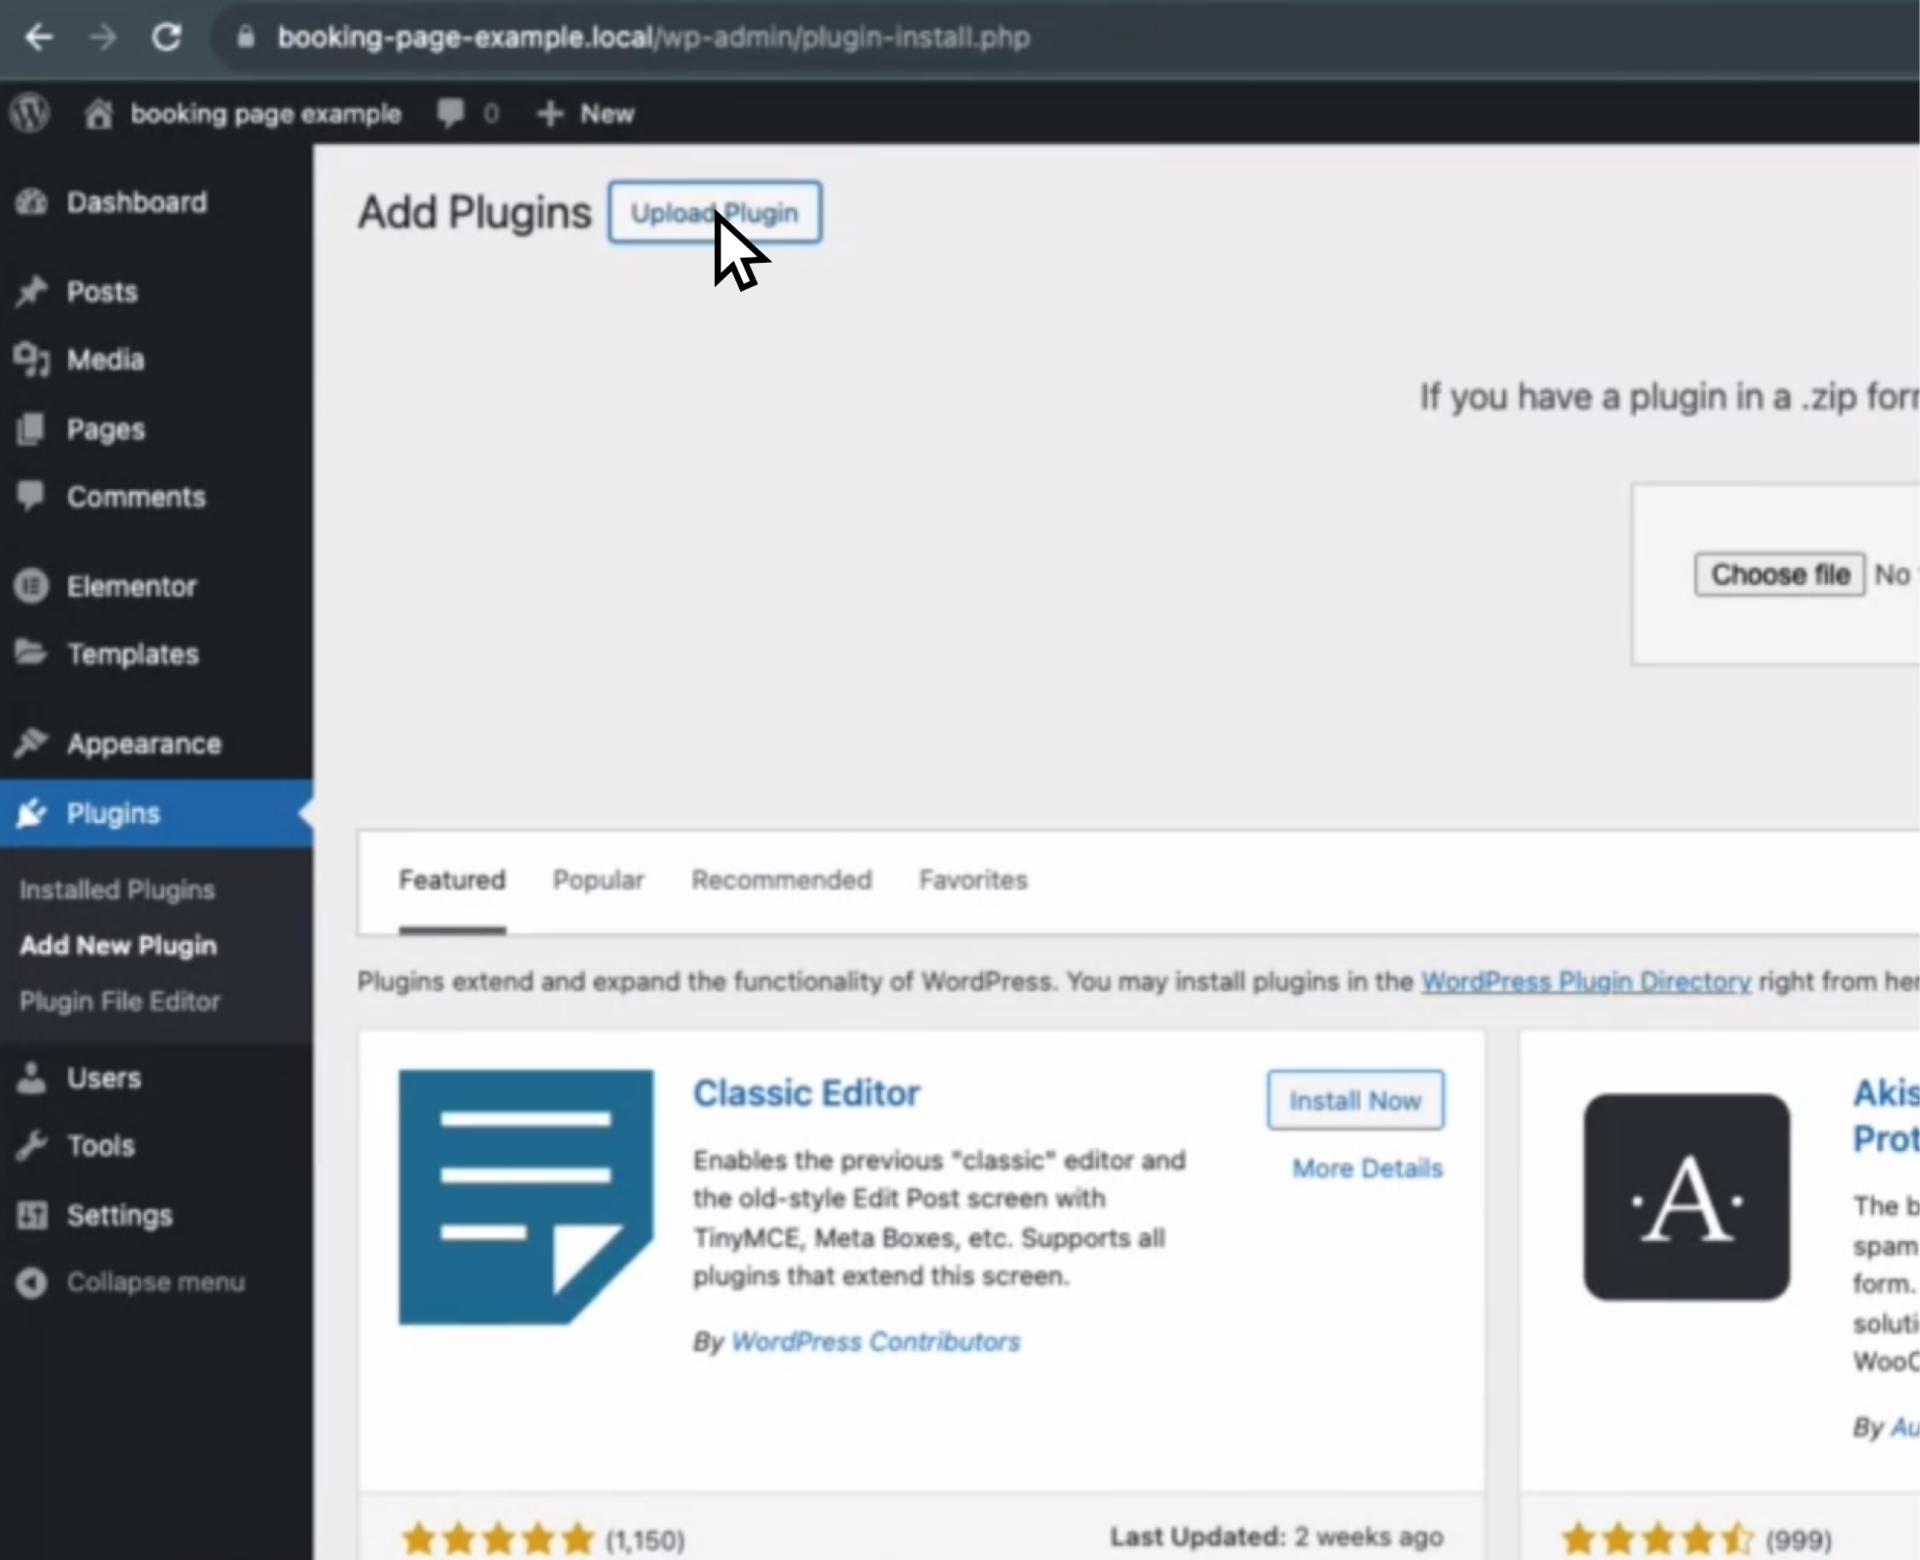
Step 3
Click “Upload Plugin” and choose the downloaded folder.
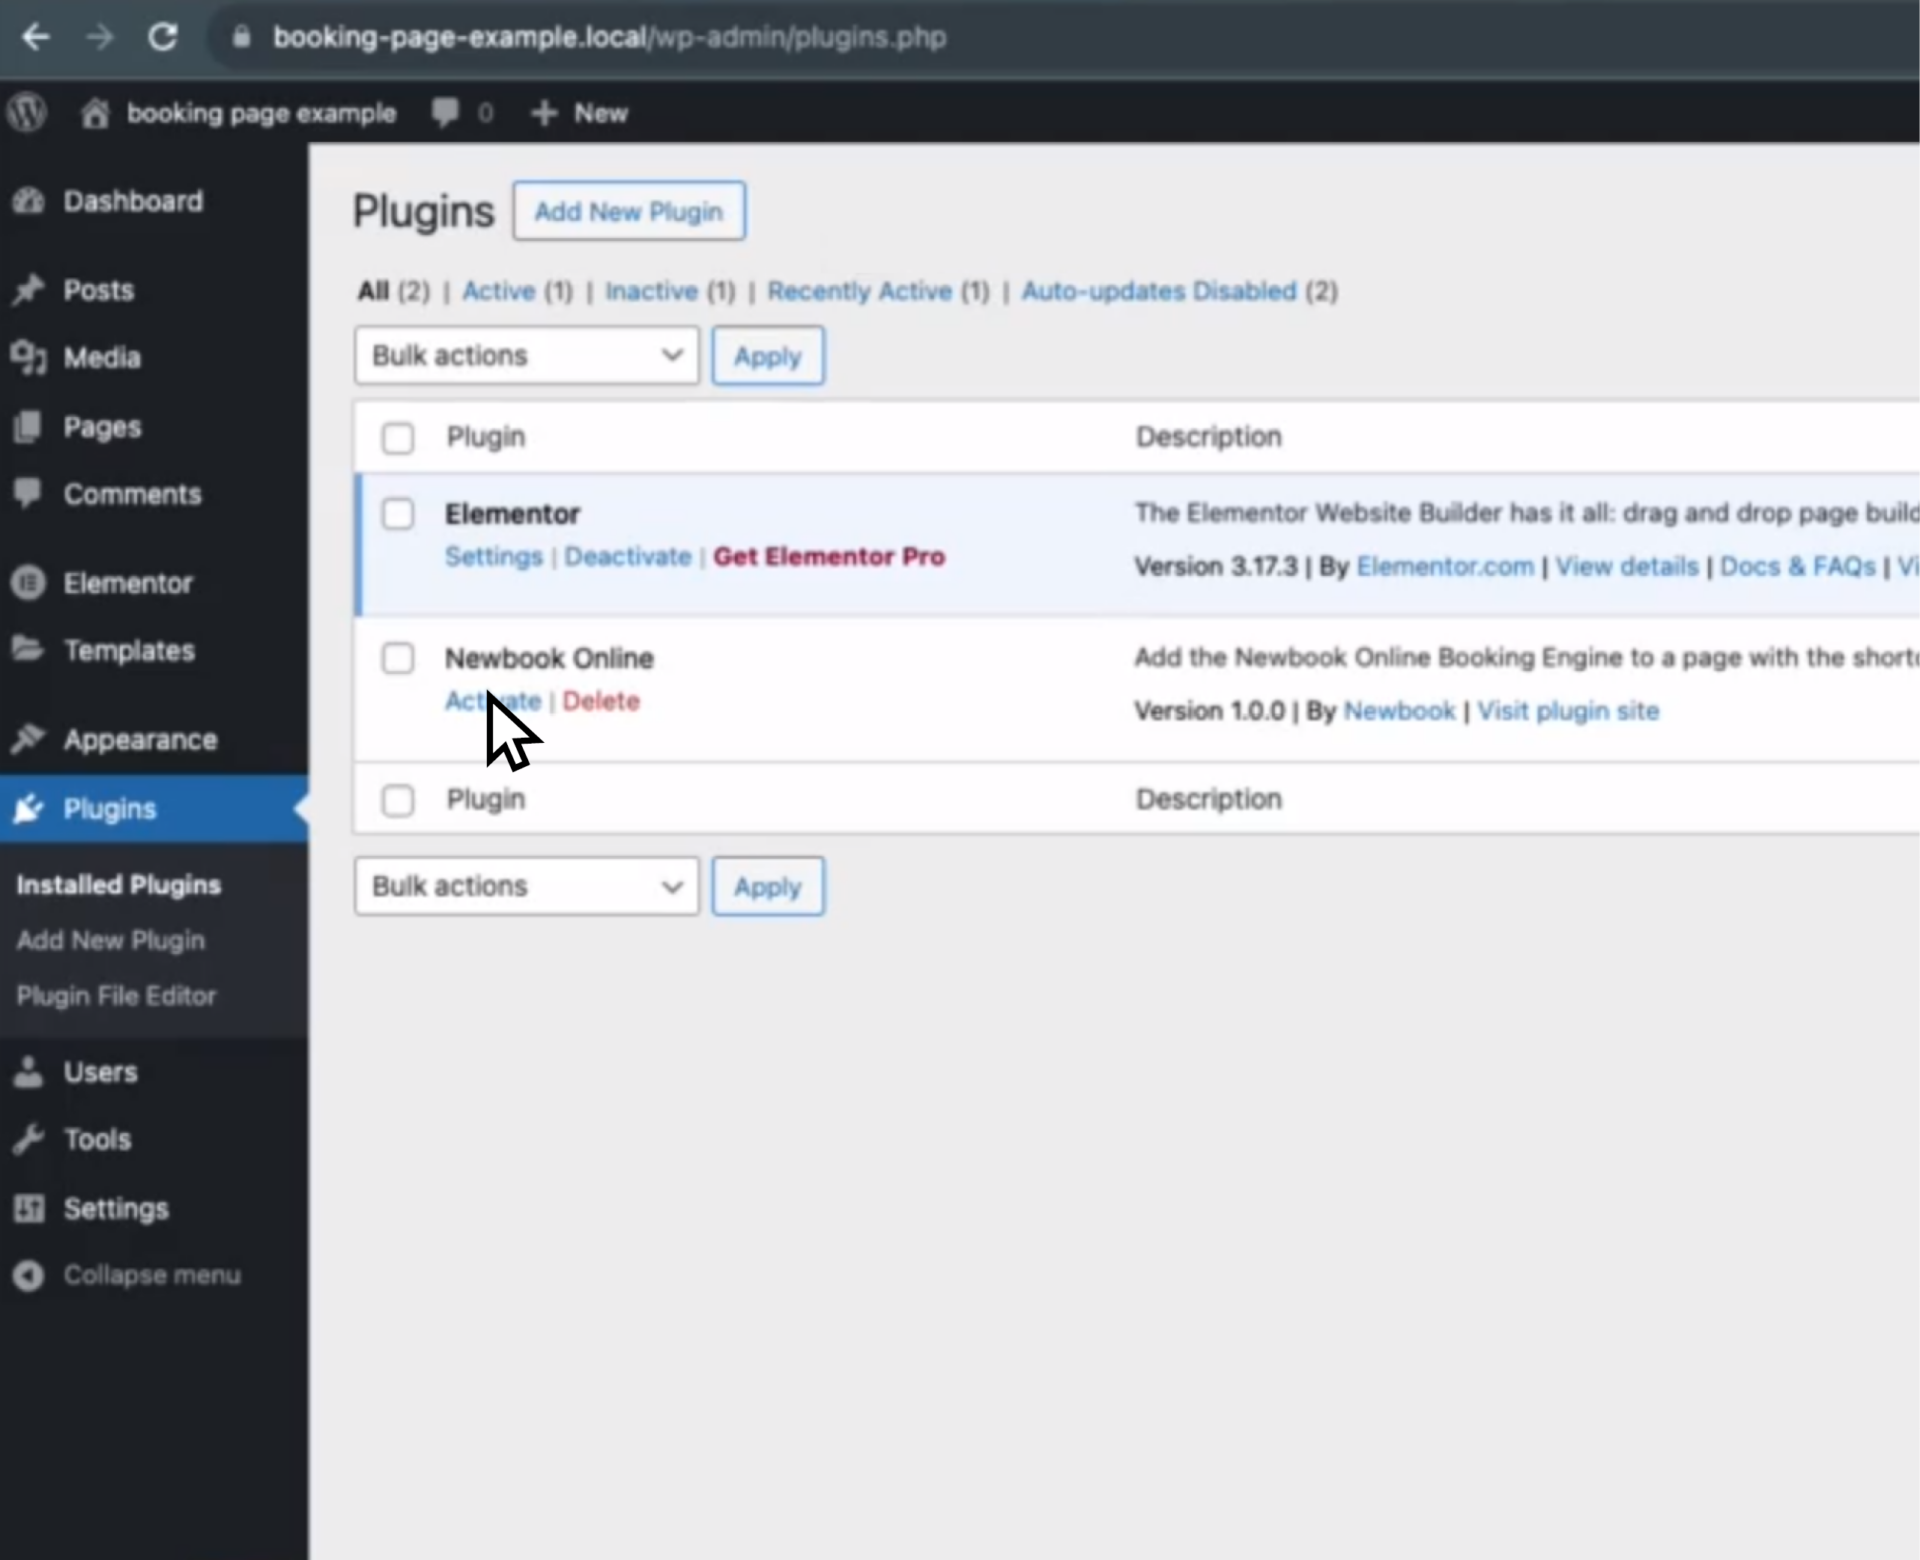
Step 4
Go to the “Installed Plugins” section and click activate to activate your Newbook Online plugin.
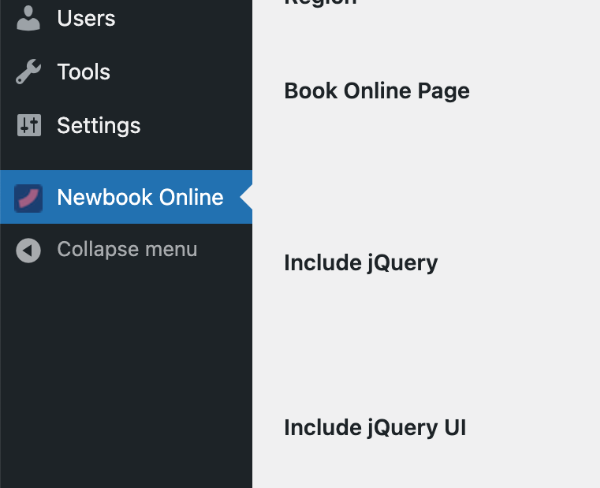
Step 5
Access the Newbook Online plugin from the left menu.
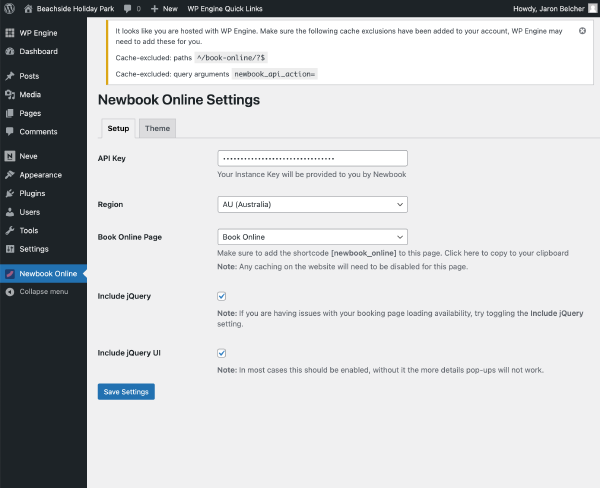
Step 6
Select your “Book Online” page, region, and input your API Key. If you do not have your API, reach out to Newbook’s 24/7 support team and they will provide it for you.
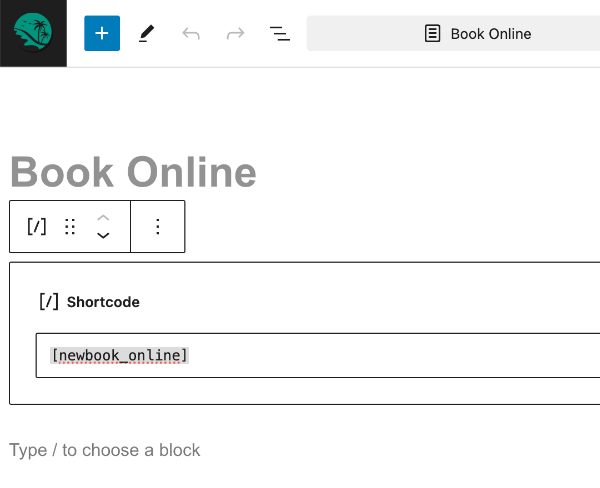
Step 7
Edit your page and add a shortcode block with the shortcode “[newbook_online]”. Click update and view your page to see the booking engine.
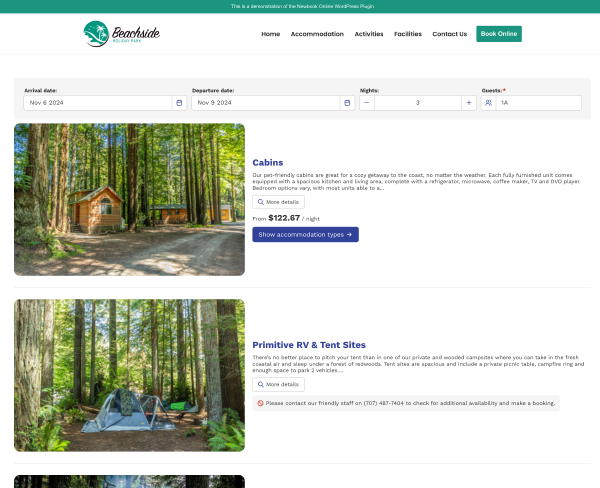
Step 8
You can now see the booking engine on your “Book Online” page but the colours and fonts might not be perfect.
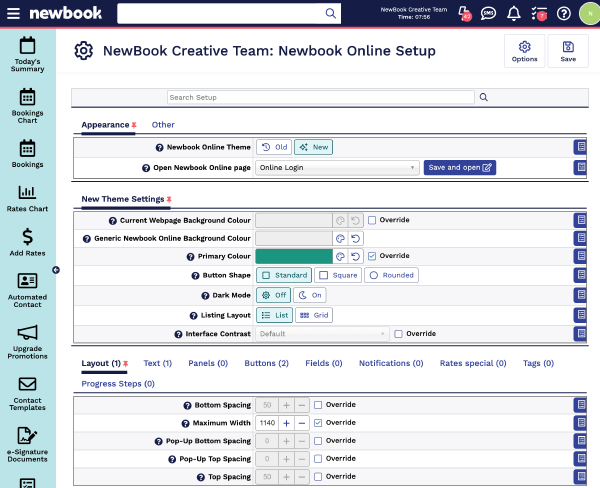
Step 9
Access the Newbook Online Setup page within Newbook to customise the colours, fonts and more. Adding an account with access only to this page is possible and can be requested from your account manager.
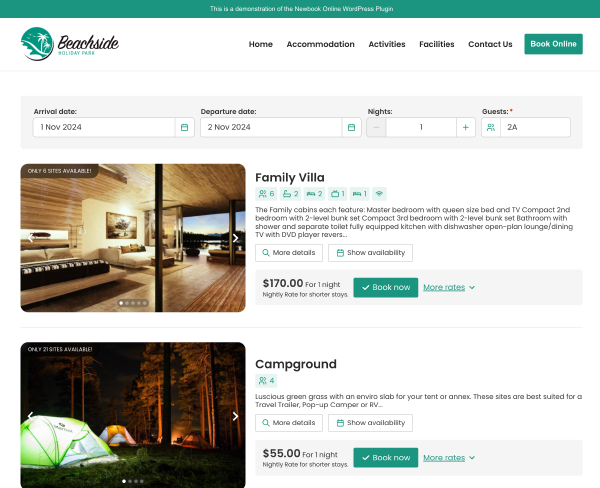
Step 10
Your Newbook Online Booking page is now branded to match your website and branding.
Step 11
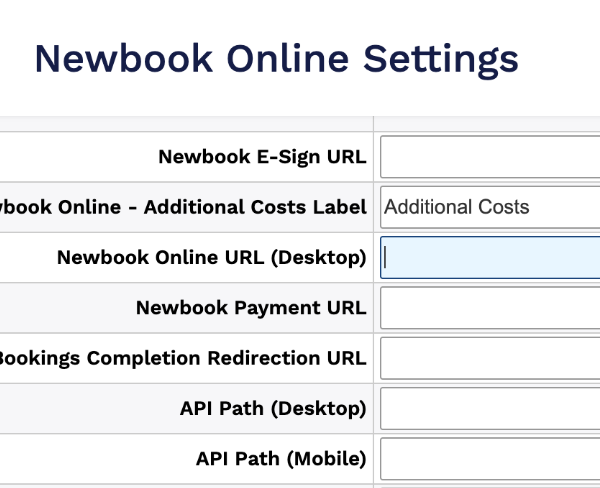
Ensure all emails sent to your guests from Newbook link to your new booking page, update the Newbook Online URL (Desktop) field in Newbook Online Settings within Newbook.

Step 12
If you have any questions or can’t get the booking engine to work on your website, please don’t hesitate to reach out to Newbook’s 24/7 support team.
Newbook Booking Engine FAQs
This is available upon request from the Newbook Support team.
Your specific region is located within your Newbook domain name. For example, if your Newbook login URL starts with https://appap.newbook.cloud/, then your instance is AP (appap). Appus = US, appau = AU, and appeu = EU
Ask your marketing team if your brand color codes are located within your company’s Style Guide. If not, you can easily find out the color code by using a browser plugin like Colorzilla.
Simply right-click on some text on your website, click ‘inspect’. Within the ‘Elements’ section, navigate to the ‘Computed’ tab and your font can be found under the title ‘Font Family’.
Put simply, adjusting the border radius changes the edges of your buttons from square edge corners to more rounded edges. So, 0px will produce squares edges, 5px is common and 25px + results in full rounded corners.
This could be for two reasons:
- The instance key is incorrect
- The region isn’t set correctly
Please double check this information and if you’re experiencing the same error, our creative team can assist.
This is often caused by clashing or missing jQuery or jQuery UI files. Head to the ‘Newbook Online’ tab within WordPress and try unticking the include jQuery and jQuery UI options.
Another cause can be that the website hosting service has blocked the API file. Check the permissions on the API file or ask your website host to unblock it. The API file can usually be found at www.yourdomainname.com/wp-content/plugins/newbook-online/inc/api.php